1985 BMW K100RS "The Brick"
Purchase Date: June 2015

I’ve seen a few of the BMW K75/K100 “Flying Brick” motorcycles in café racer or brat style driving around. I love the rawness of a stripped down bike. The K-bikes are known for their longevity and this means they can probably take some physical abuse. I’ve added this motorcycle to one of my personal searches. Both because of the customization possibilities and the dropping prices.
This is where I come in. The bike posted for sale on craigslist with a good price. I quickly made the phone call and jumped on the deal. Upon arrival at the bike’s location, I discovered the usual signs of age and sitting. This includes leaking rear shock seals, bad tires, empty rear brake reservoir, cracked/damaged seat, some rust, a dented tank, etc... Topping it off the bike was not running. The owner and I haggled for a minute before the deal was made. The transaction was fairly smooth, and I am now the owner of a K100RS.
This is where I come in. The bike posted for sale on craigslist with a good price. I quickly made the phone call and jumped on the deal. Upon arrival at the bike’s location, I discovered the usual signs of age and sitting. This includes leaking rear shock seals, bad tires, empty rear brake reservoir, cracked/damaged seat, some rust, a dented tank, etc... Topping it off the bike was not running. The owner and I haggled for a minute before the deal was made. The transaction was fairly smooth, and I am now the owner of a K100RS.
The 1985 BMW K100RS is a sport-touring motorcycle with a 987cc inline, four-stroke engine. The 8-valve, DOHC, four-cylinder engine produces a modest 90 HP at 8000 RPM. Compression is 10.2:1 with a bore/stroke of 67mm x 70mm. The motorcycle is liquid cooled with a five speed transmission (dry mechanical clutch) and a shaft final drive. Top speed for the “Brick” is 125 mph. Complete with oil and gas, the bike weighs in at 573 lbs.
|
When the bike arrived at my place it was a bit of a mess. This includes fairing damage, seized rear brakes, sludge in the coolant line, oil soaked left engine casing, bent pegs, bad tires, etc... And to top it off it is not running. I've got some experience with these bikes and am counting on the bike being solid underneath all of the problems. One of the main issues with any fuel injected motorcycle is that the passageways clog up after sitting. These early K bikes are also known to have fuel pump problems. The bodywork is not an issue because I am not going to restore/refurbish this one. This is going to be a Scrambler/Brat for me to have fun with.
|
|
I did some testing to the fuel pump, and sure enough it was bad. After replacing that along with the engine oil, gas and coolant I tried starting the bike and and it fired up! Unfortunately the bike was not running on all 4 cylinders. I then replaced the tired spark plugs and tried again. It fired up and successfully ran on all 4 with billowing clouds of white smoke and an unsteady idle. Next was the fuel injectors, I ordered a set of hi-flow Bosch injectors and replaced the clogged ones. The bike now runs steady as it should, no obvious issues with the gearbox or anything internal. The tear down and customization is to follow with the build.
October 2015
While still testing, the bike would hesitate severely under sudden full throttle. This forced me to become more intimate than I would have liked with the K100's fuel system. After all of my ups and downs investigating the issue, it turns out that the culprit was a loose vacuum hose to the fuel pressure regulator. 99% of the time it's the obvious that is overlooked.
November 2015
Finally, this seems to be a long time coming. Some of the component upgrades, changes, repairs, etc... that I've completed:
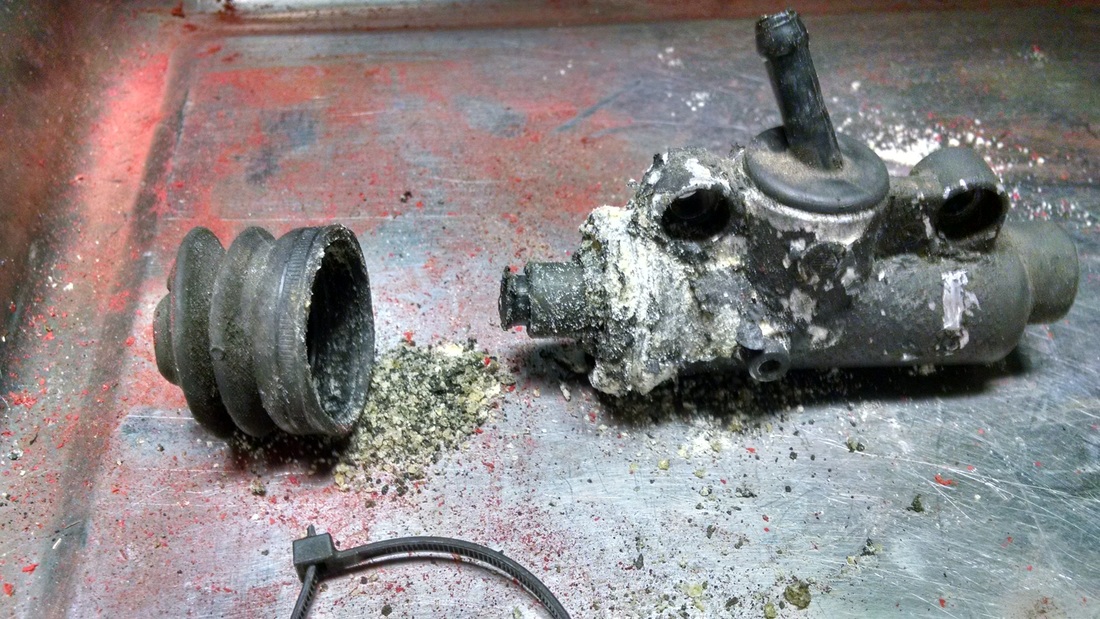
Rear Brake Master Cylinder Lines: The BMW rear brake did not have any engagement at all. The rear master cylinder had been corroded to no avail. I ordered a new rear brake master cylinder from FCP Euro. The accompanying brake line to the caliper was also in bad shape, I replaced that with another K100 line from an online salvage company through eBay. The brake inlet line to the reservoir was also destroyed. I replaced that with a new, blue line originally for a Volkswagen car.


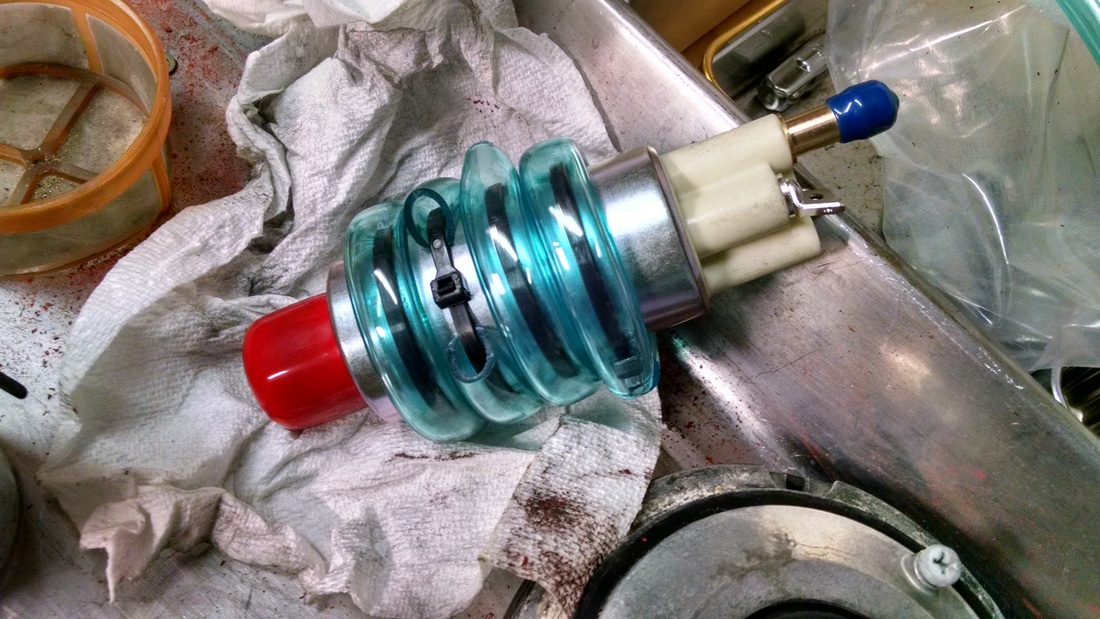
Fuel Pump: The original fuel pump didn't work at all. I replaced this with one from Quantum Fuel Systems that has an internal relief valve of 120psi., aside from the Bosch OEM that is in the range of 65-70psi. The new pump did not fit into the existing plastic filter cage, I improvised and made the diameter close to perfect fitment with some nylon zip ties (fuel safe) and fuel line.

|
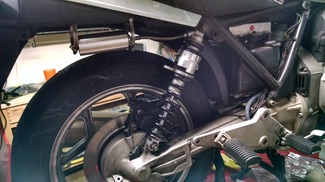
Rear Shock: The rear shock had a bad oil leak. Luckily this is a Works Performance steel tracker shock and it can be serviced. After some debating whether to repair the shock myself with a new seal kit, or send it to Works; I decided to send the shock back to the professionals. Within a few weeks the shock returned good as new.
|
|
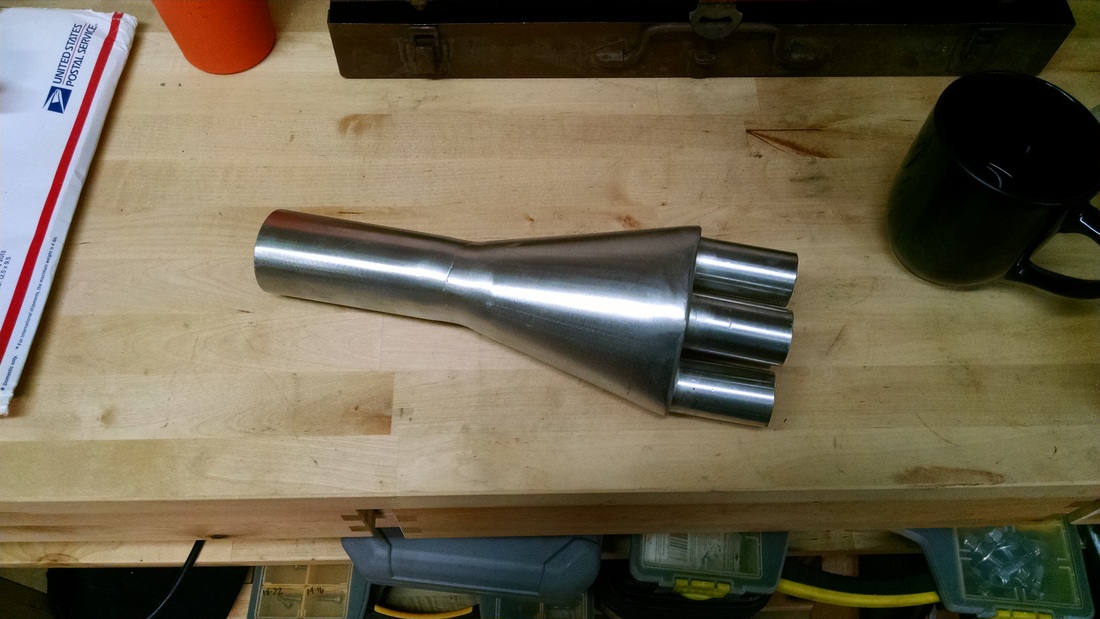
Exhaust collector: After searching the internet and talking with friends for a reasonably priced exhaust collector I found the one I was looking for in New Zealand. The manufacturer is a retired welder named "Malcolm"; found on an expired blog page. He has made a few of these over the years and had the one I needed leftover. After several email exchanges and an agreed price, the new collector was mine.
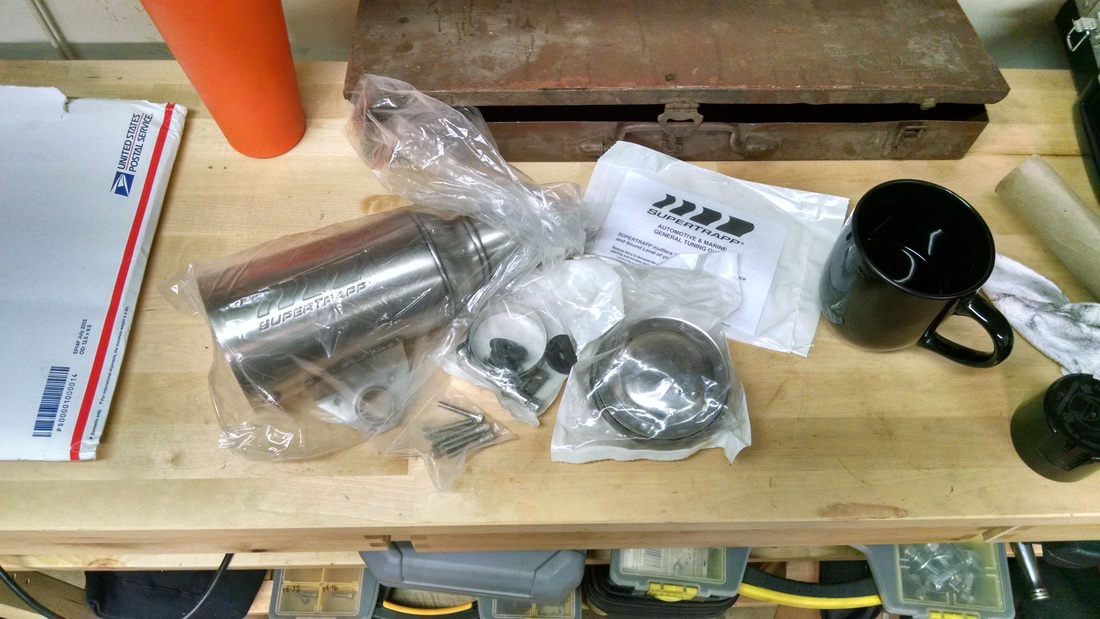
Muffler: I decided to go with a short Supertrapp exhaust can with the pre-welded bracket. I wanted tuning control over the exhaust flow that Supertrapp offers with its patented disc system. After installation, this tuning proved to be crucial in how the bike runs.

Fuel Injectors: I replaced the clogged fuel injectors with a Bosch high flow refurbished set purchased from Motorwest Performance on eBay.
Fuel Pressure Regulator: I installed a new fuel pressure regulator (Standard PR 134). The spring in the original one appeared to be weakening (fuel line pressure testing). The new regulator was purchased from eBay (Top Shelf Auto Parts). The fuel pressure will ideally read around 35 psi just before the fuel bar while running, this pressure should hold at all throttle positions.
Crankcase Breather Hose: The original small "S" shaped breather hose from the crankcase to the air box had a crack near one of the clamps. I replaced it with a new one from Beemer Boneyard.
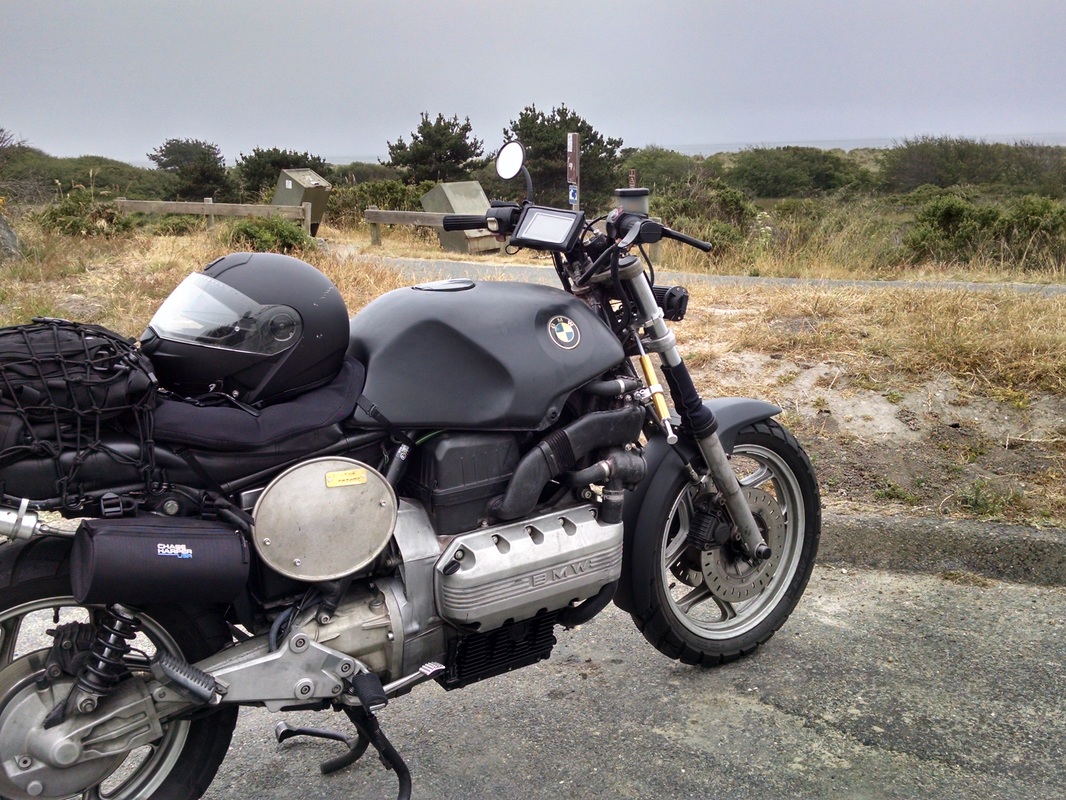
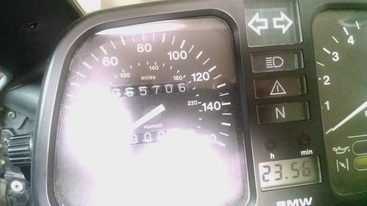
Speedometer: I purchased and replaced the speedometer / odometer / tachometer with an Acewell 2853. This was not a plug and play exchange. i am still working out the bugs in getting this set up correctly.
- One of the nuances is that the neutral indicator light needs to be wired through a series of relays in order to get it to work. This took some time before finally getting the desired result.
- I epoxied the speedometer magnet to the front rim, making a bracket for the sensor to mount along with the front mudguard.
- The hazard light is deemed useless (i am not running hazards), I may incorporate the temperature warning light into this in the future.
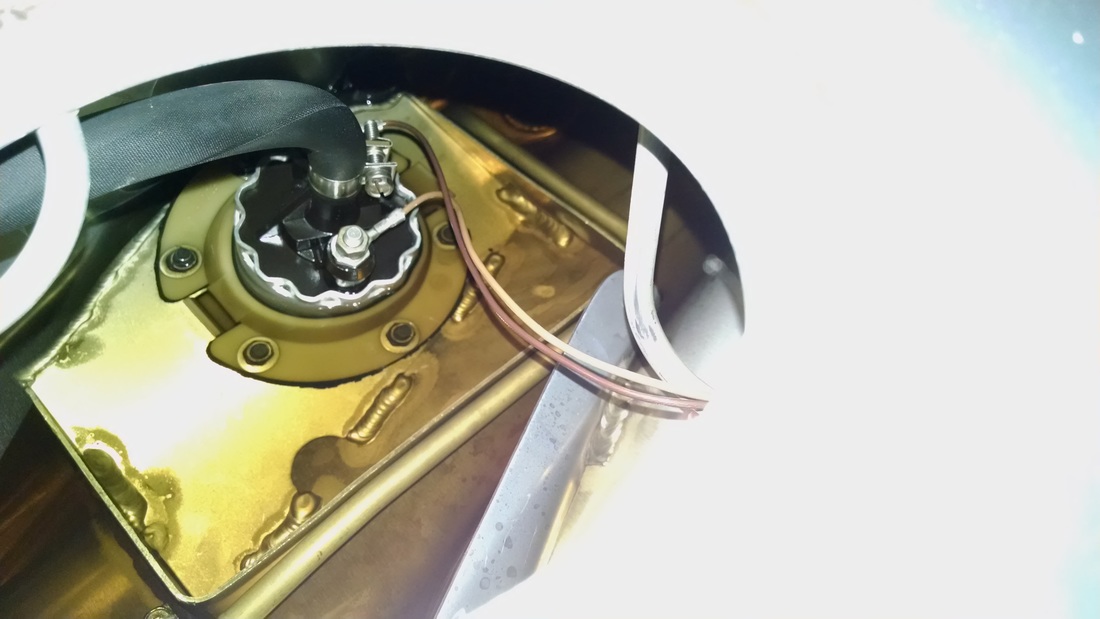
- The gas gauge is not used. If all works out as planned I will be purchasing an in tank fuel sending unit, allowing the gauge to work properly.
- The tachometer is wired to one of the coil lead inputs.
December 2015
Handlebars: The BMW handlebars were skinny and did not suit the scrambler style I am going for. The bars have been replaced with a set from a Kawasaki ZRX 1200. Because the new bars are wider than the OEM, I used a longer brake line to the triple tree (originally a crossover from an SV650).
The original brake line to the master cylinder was loose. I didn't think much of this until I was installing the new line, finding out that the threads into the master cylinder were stripped. I installed a heli-coil insert correcting the threads and installed the brake line.
|
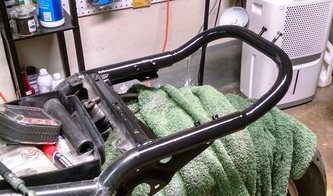
Seat Hoop: After careful deliberation, I decided to cut the rear sub-frame and install a seat hoop. The large diameter tubing allowed me to have a seat hoop made that will slide into the existing frame tubes. I designed the hoop and sent the prints to Independent Machineworks out of Oakland, whom made the hoop perfectly to my specifications. I cut, filed, installed, and painted the seat hoop; using internal hardware to secure.
|
|
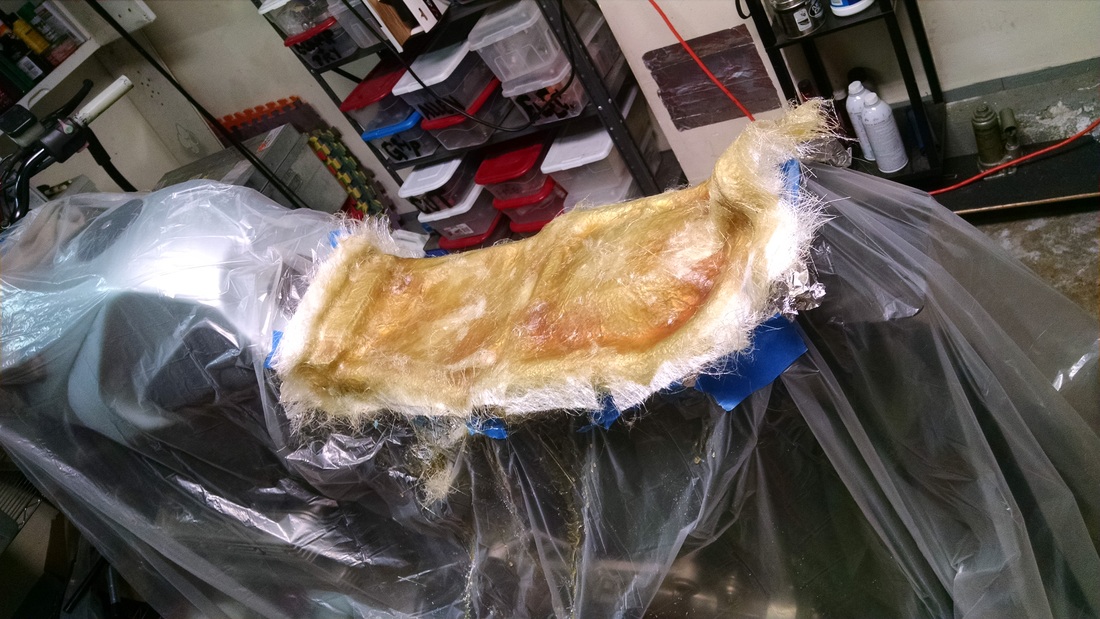
Seat Pan: In designing this seat pan, I was in a personal debate whether to use fiberglass or to sheet metal. Because of various contours needed, I decided to go with fiberglass.
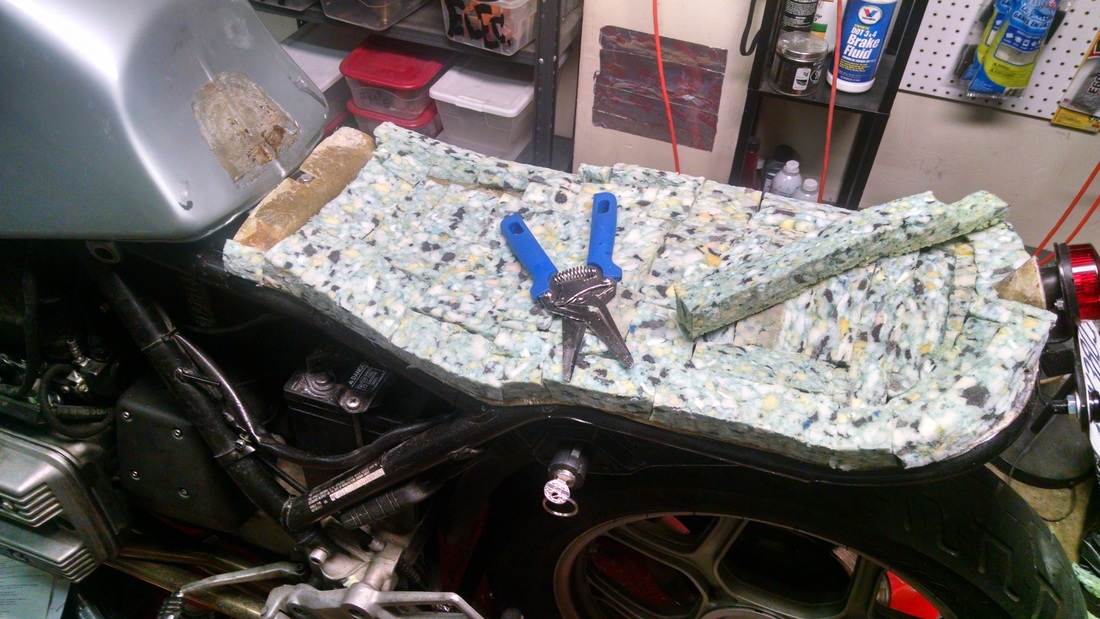
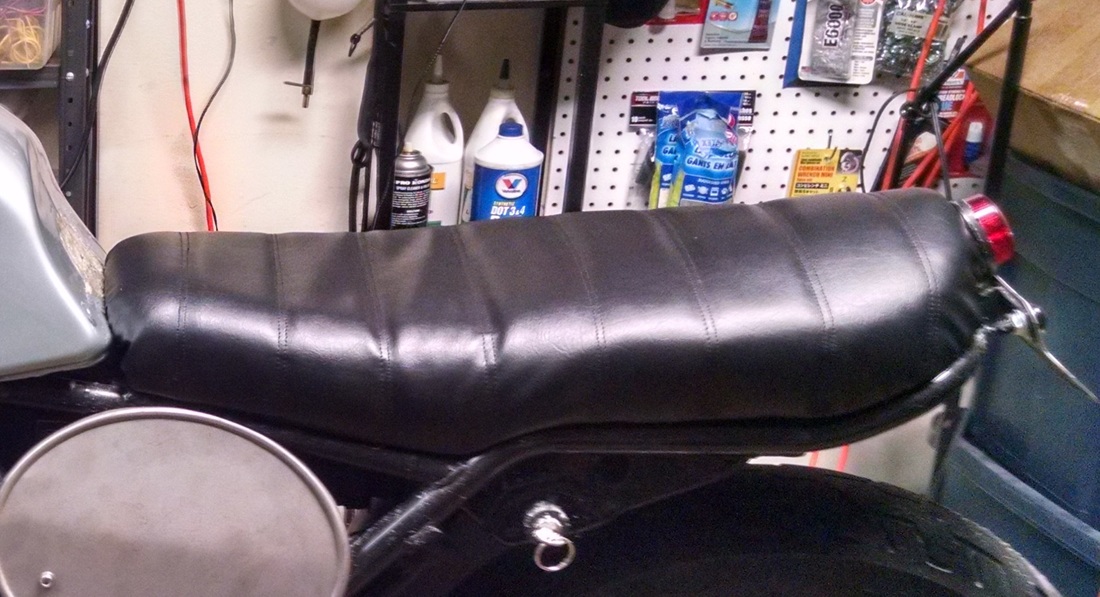
Seat: I shaped adhered (3M 77 adhesive) layers of 1in rebond foam from Foam Factory to get the form I was looking for. After which I covered with a vinyl seat cover stitched with remay backed foam. Hillary did a fantastic job sewing the pattern into the vinyl. I then attached the cover to the pan using aluminum rivets; attaching the whole seat to the frame with brackets and hardware designed into the pan / frame.
Battery: The auto parts store battery that came with the bike wasn't holding a charge as it should. I replaced this with a Bikemaster true gel battery.
Side Covers: Vintage steel number plates, new old stock from an eBay vendor.
Headlight: 36 watt LED light bar from Trackerdie. I had to design a relay system allowing the light bar to have a low / high setting; the light only came with an on / off option. The bar itself was an easy install to the fork brace and works well once dialed in.
Turn Signals: I added front and rear LED turn signals, removing the OEM. The rear LED signals are doubled as license plate bolts. I also wired load resistors in-line with the signal wires, this will keep the flashing speed slow.
January 2016
|
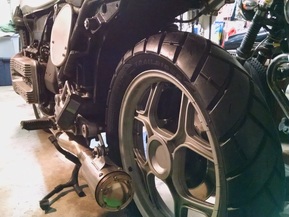
Tires: I installed a set of Avon TrailRiders for the mileage they offer along with off-road terrain capabilities; Tyler at Hayasa Motorbikes mounted and balanced the tires to the rims.
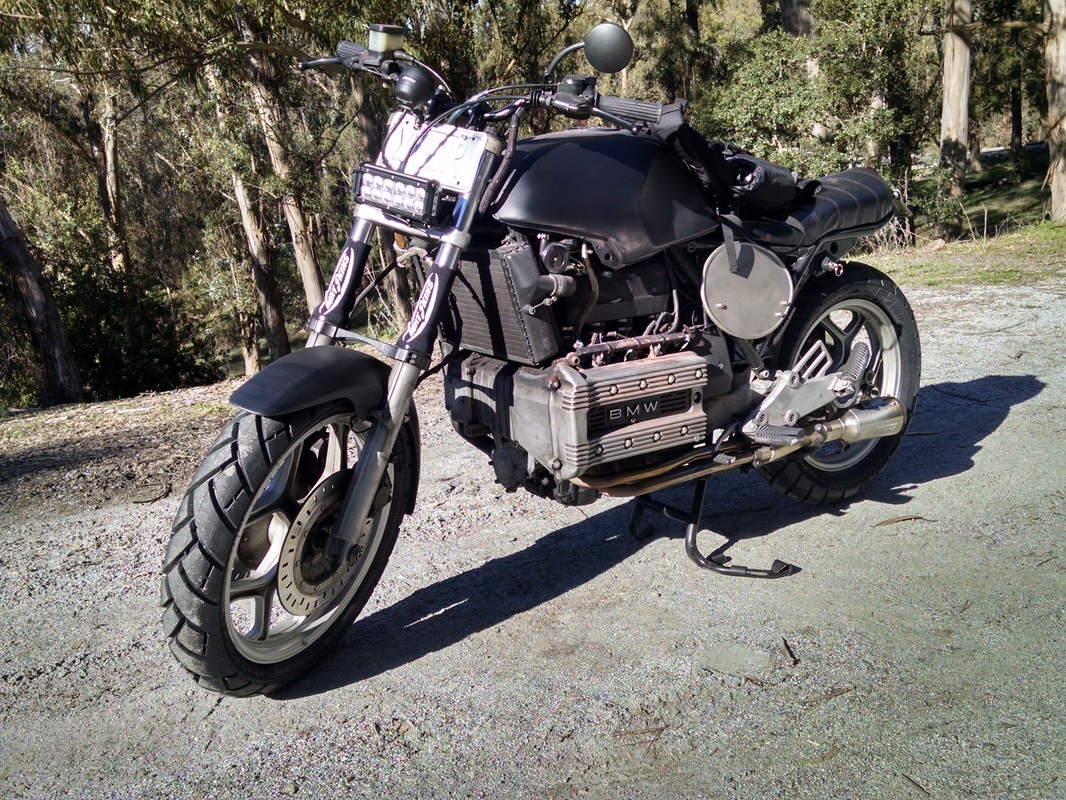
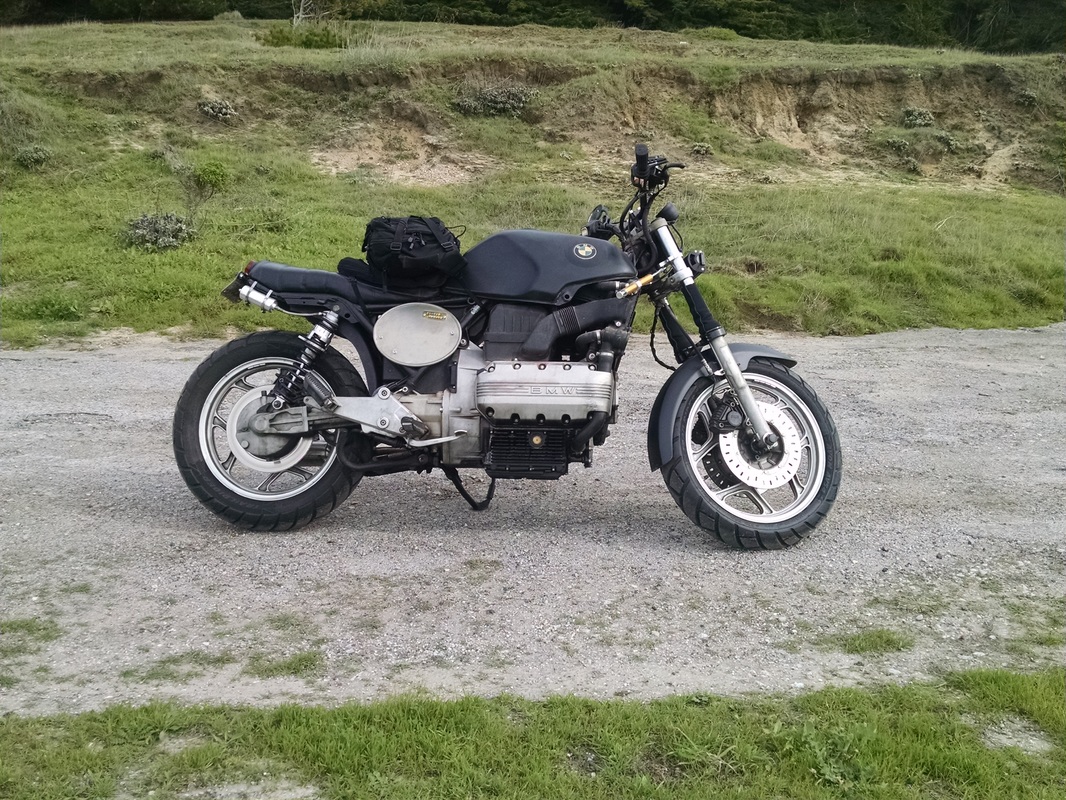
Paint: I’ve decided to paint "The Brick" a simple flat black with a round gloss black ring circling around the right BMW emblem; simple yet effective. Before painting I repaired a dent and scratches on the right side and filled in the left side BMW emblem indent. I also added a "custom" indentation for brake line clearance.
|
|
Handlebar Risers: I sourced and installed a set of one inch handlebar risers, keeping the riding position upright aligning with the bike style.
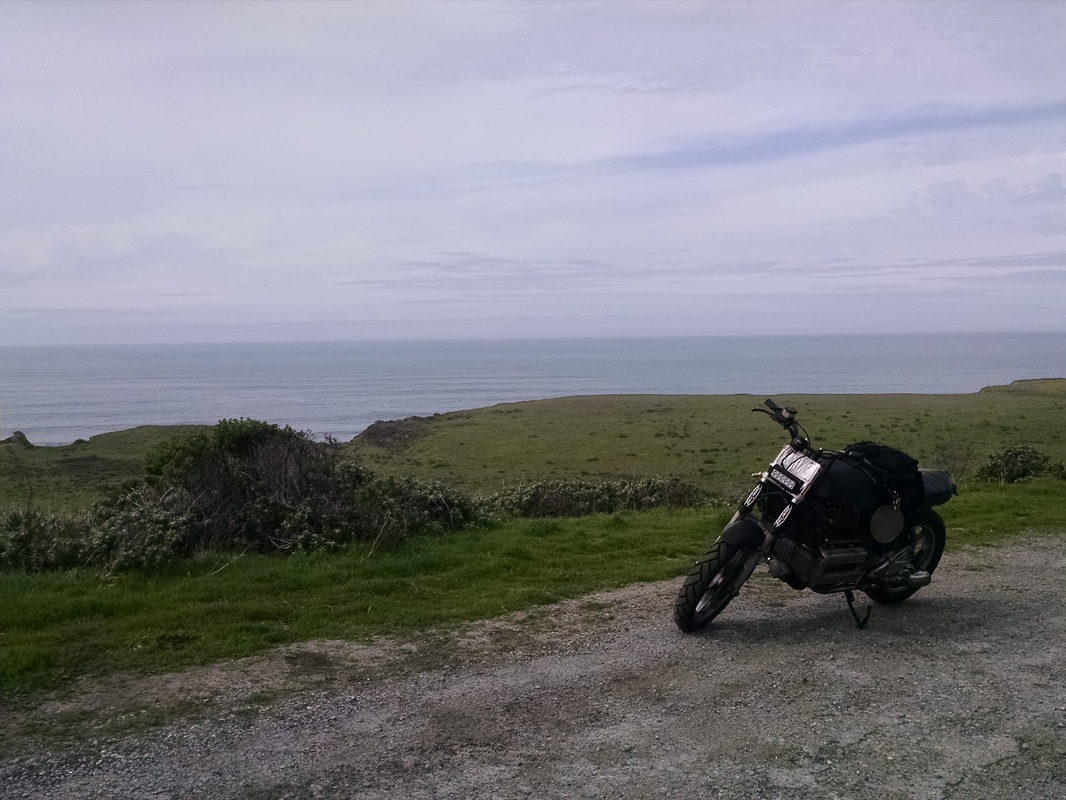
February 2016
I finally finished up the small details on "The Brick", including another round of changing all the fluids. This morning I took the bike out for the first real ride / shakedown. The motorcycle drove and handled great. It's an exciting day, I'm looking forward to thrashing around with this Mad Max style motorcycle.
March 2016
Lights: I decided to add an external light for night visibility. The low beam on the set of tracker lights just wasn't cutting it.
May 2016
|
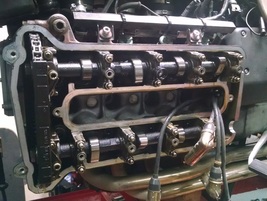
Valves: I finally got the chance to inspect the valves. Lucky I did, they were way out of specification. I installed a total of seven new valve shims. Only one was within spec. I purchased the new shims from Barvarian Cycle Works in San Francisco. I purchased the valve adjusting tools from Polpenhollow.
After completing the valve shimming, I re-synced the throttle bodies. The bike runs proper as it should.
|
February 2016
I've been driving the Beemer for some time, mostly commuting to and from work. The bike has been good to me. Unfortunately it was time to let the bike go to a new owner. The K100 is a strong running bike. With the proper care and maintenance, the bike will have a long mechanical life.
Sale Date: February 2017